TuneRS Mall Logo
We’re expanding our online store!
We’re improving our website and adding new parts daily.
Can’t find a part or need help with an order? Contact us—we’re happy to help.
← All installation guides

TuneRS technical resources

4-inch Underdrive Pulley

Fitment, pulley clearance, belt selection and installation.

M96 / M97 · See fitment exclusionsTRS-UDP-M9697AC / TRS-UDP-M9697NO10 steps
Download guide PDF
Before you begin

Before you begin — photo 1

We recommend professional installation. Failure to follow correct installation procedure may result in damage and void of warranty of your TRS part.

Please follow these instructions carefully to complete successful installation of your new under drive pulley kit.

The TRS pulley kit fits the following vehicles:

  • 1997 – 2008 Porsche Boxster / Boxster S
  • 1998 – 2008 Porsche 996 Carrera / 997 Carrera (will not fit 3.8L Carrera S or DFI models)
  • 2005 – 2008 Porsche Cayman / Cayman S

TRS-UDP-M9697AC (models with A/C)

TRS-UDP-M9697NO (models without A/C)

Installation steps

1Step 1Access the engine compartment
You will need access to the engine compartment.
  • Boxster & Cayman – Remove the rear wall cover behind the seats.
  • 911 Carrera – Disconnect your MAF sensor from the air filter housing. Remove your engine air filter housing.
2Step 2Release and remove the drive belt
Now you will see your engine drive belt. Locate the tension roller and turn it clockwise to release the belt tension. Remove the belt.
3Step 3Remove the original crankshaft pulley
Remove the original crankshaft pulley using the Porsche crankshaft pulley tool (not provided with kit). The pulley tool can be picked up from any local Porsche dealer. Part number # 000 721 928 51.
4Step 4Create clearance for the new pulley
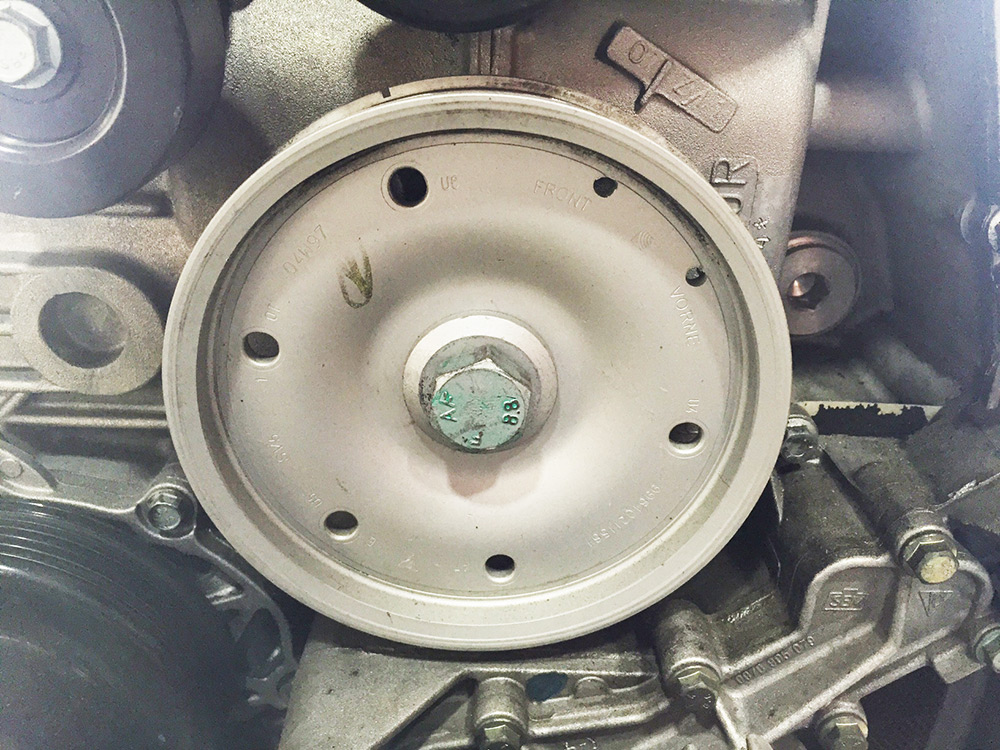
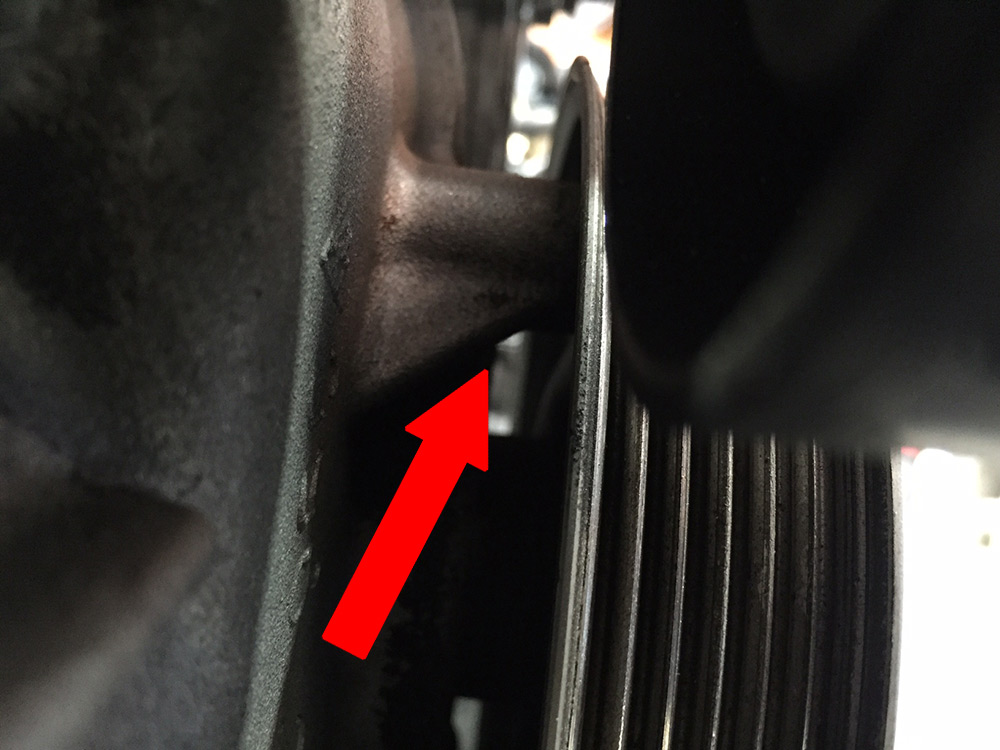
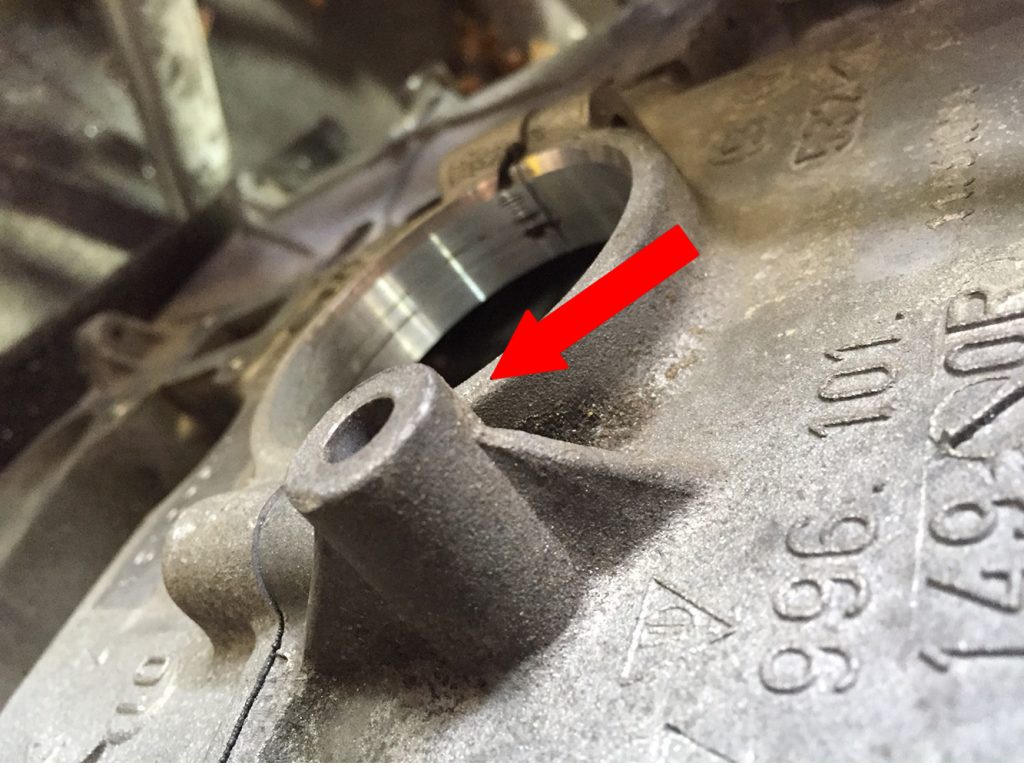
Once you have the factory pulley removed, you will notice a boss protrusion. In order for your new pulley to fit properly, you must modify this protrusion. This is necessary – failure to do this step will cause damage to the new pulley and warranty will be voided. You can use a dremel, hacksaw or any tool you deem perfect for trimming down the protrusion. Below photos show the original crankshaft pulley (#1), and the boss protrusion that needs to be trimmed down after it is removed.

Create clearance for the new pulley — photo 1Create clearance for the new pulley — photo 2Create clearance for the new pulley — photo 3

Create clearance for the new pulley — photo 4

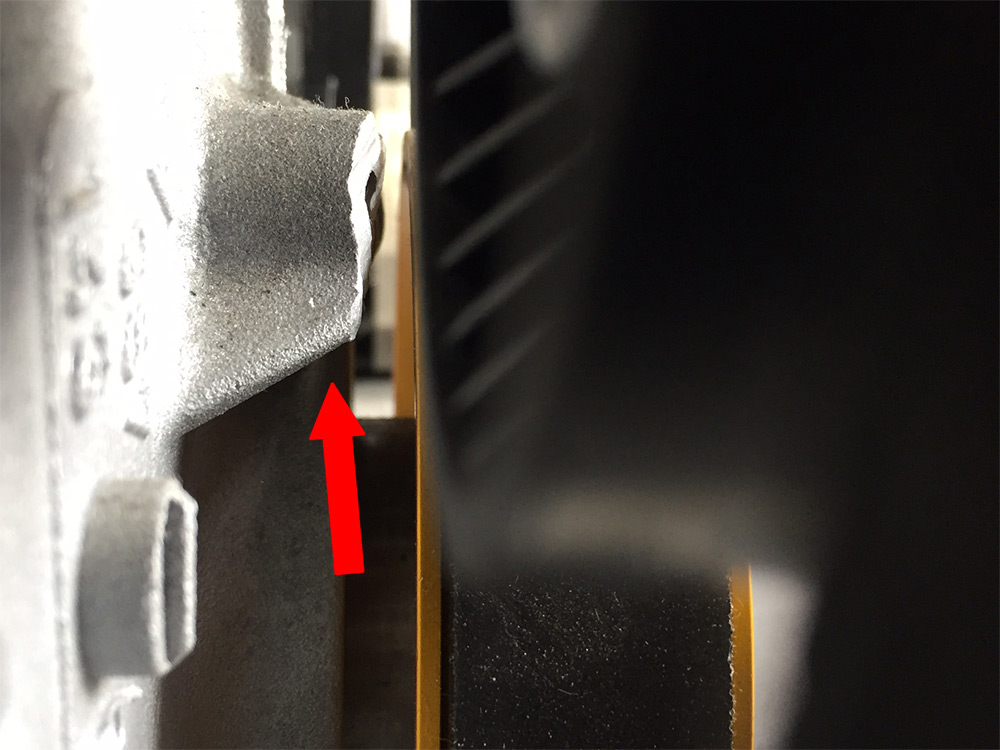
<< This is how the protrusion should be cut to have clearance for the new under drive pulley to fit.

Failure to cut this protrusion will not allow correct fitment.

5Step 5Install the new pulley and supplied bolt
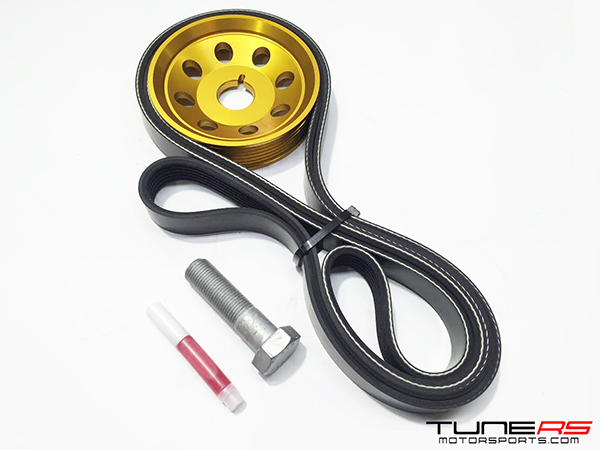
Install the new under drive pulley in position. Make sure to use the new bolt that is provided with the kit, do not re-use the old bolt (discard it). Apply red thread lock to new bolt (supplied with kit). If you are missing these components please contact us.
6Step 6Torque the new pulley bolt
The new bolt has a two-step torque process:
  • Step 1 – Torque to 50Nm.
  • Step 2 – Turn an additional 90 degrees.
  • DO NOT OVER TORQUE.

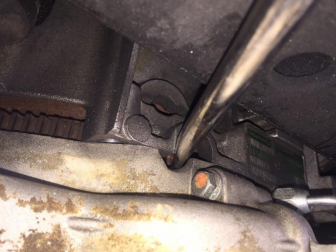
In order to hold the pulley in place while tightening down the bolt to prevent the engine from turning follow these steps (if you do not have a pulley holder tool):

  • Manual transmission cars – Put the vehicle into 5th gear with the handbrake engaged.
  • Automatic transmission cars – You will need to lock the flywheel in place, this can be accessed from under the vehicle.
Torque the new pulley bolt — photo 1

7Step 7Install the correct serpentine belt
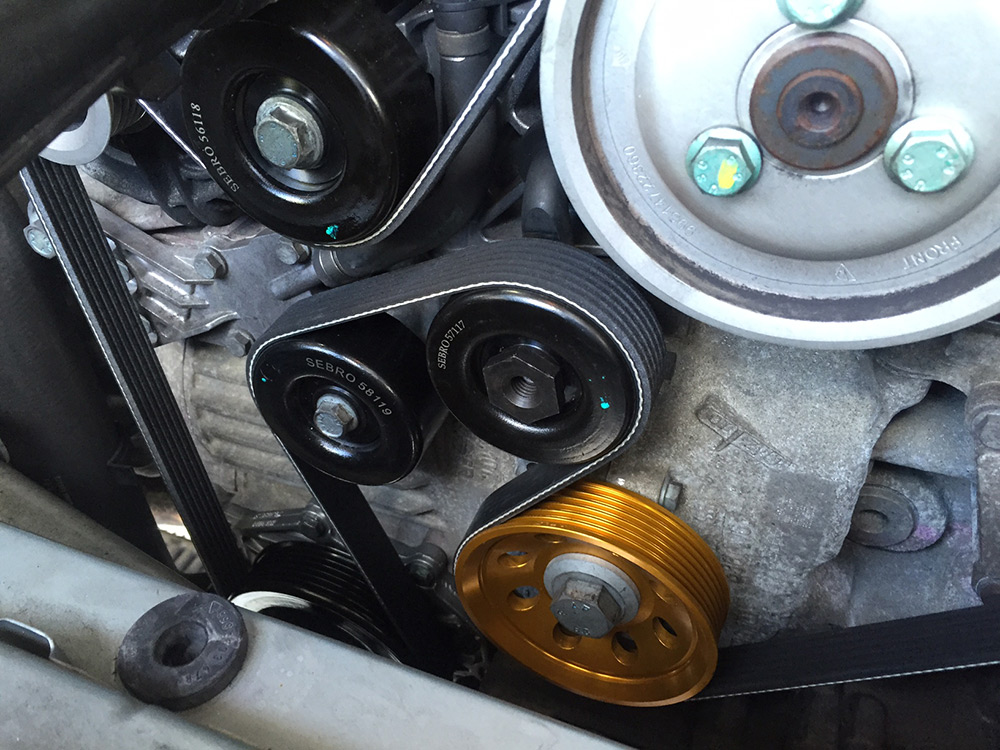
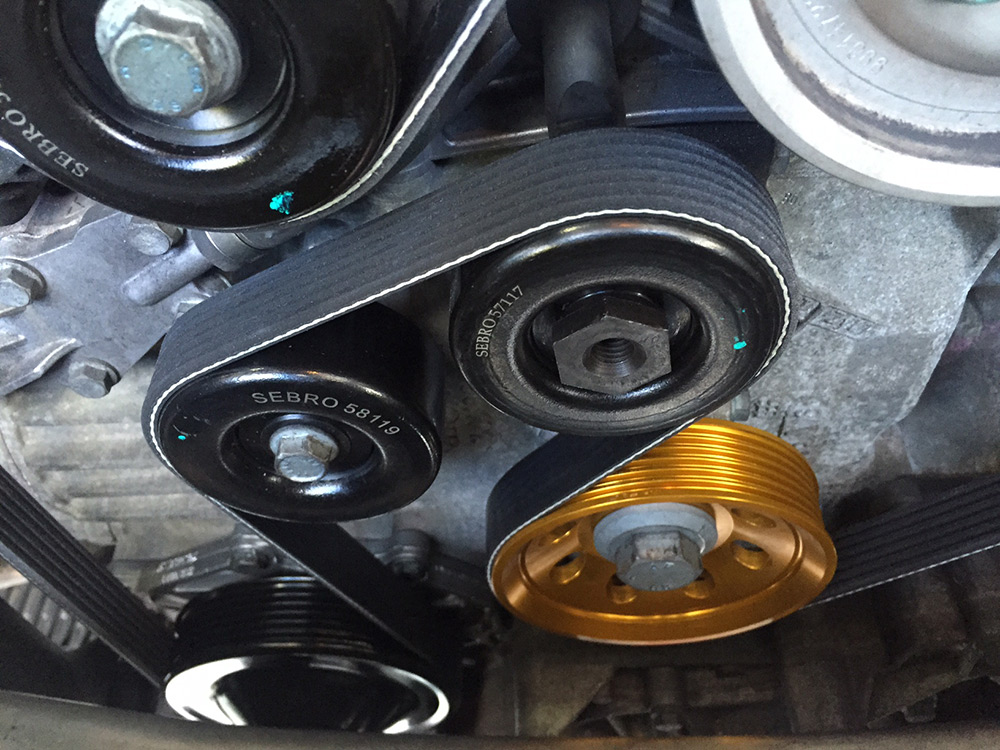
Install the new serpentine belt provided. The belt is specific length for vehicles with A/C (6pk2070) and without A/C (6pk1890). Your original belt will not work. Position the belt by removing the tension off the tension roller in a clockwise direction, install the belt and allow the tension roller to slide back to its position.

Install the correct serpentine belt — photo 1 Install the correct serpentine belt — photo 2

8Step 8Start the engine and check operation
Crank the vehicle and ensure everything is working correctly.
9Step 9Refit the engine cover or air filter housing
Reinstall the rear wall cover and tighten (on Boxster / Cayman) / Reinstall the air filter housing & connect MAF sensor (on 911 Carrera).
10Step 10Complete a test drive
Go for a test drive!